Wednesday, January 31, 2007

Primary Organizing and Cake Decorating

That’s what I’ve been up to these days. Two and a half weeks ago I was surprised to learn that our church ward was split into two, and I was subsequently released from my calling as Primary President. Two hours later I was called as the Primary President in the newly formed ward. So, we were back to square one in getting everything organized in Primary for the new year. Actually, having managed to get everything super organized before (thanks to my wonderful counselors!) made the transition so much smoother than it would have been!


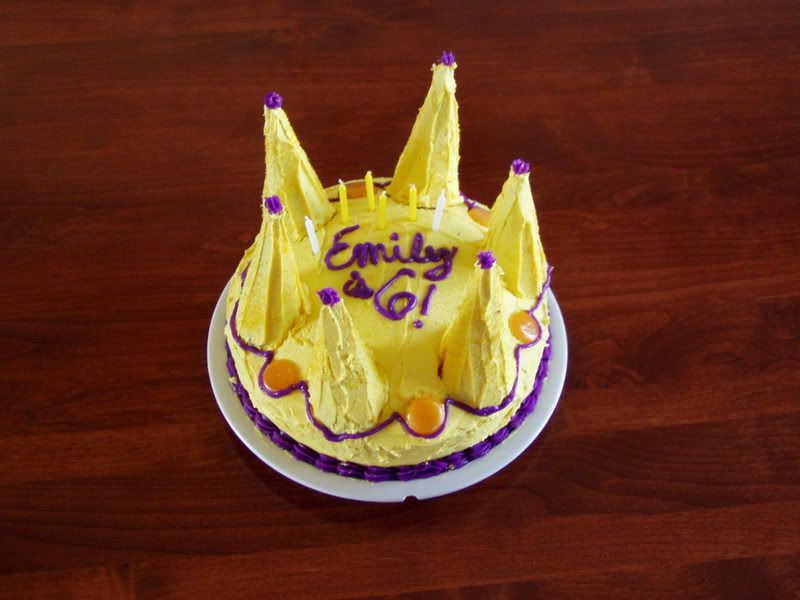
I also finished one of my New Year Resolutions by taking a cake decorating class with my daughter Emily. Our last class was last night, and here we are with our final “masterpieces”.


I found the most difficult part of cake decorating to be getting the consistency of the frosting correct. Last night, I misplaced the recipe our teacher gave us and had to make a brand new recipe, and made it too thin. Which really made decorating our cakes last night a challenge, but I think we did okay. It was a class for adults, but they let Emily in anyways and she did really well. I was very impressed that after getting very frustrated with trying to make roses and wanting to give up, she faced her frustrations, jumped back in and learned to make a pretty decent rose. We enjoyed the class so much, that we are going back next month for the sequel!


So, in honor of Works for Me Wednesday, here are some cake decorating tips, both old and new:

Old

1. To keep your cake from sticking to the pan, line the bottom of your pan with waxed paper, spray it with non stick cooking spray, and then pour the batter in. After the cake is done, cool for 10 min, no more or less, and then remove from the pan to finish cooling on a cooling rack. It comes out super easy, and you simply pull the waxed paper off and find a perfectly smooth bottom! (This is actually I tip I learned from my mother in law.)

2. To keep crumbs out of the frosting, first brush your cake gently to remove excess crumbs. Then apply a “crumb coat” of frosting. This is a very thin layer of frosting that seals in the crumbs. Let the cake sit until the frosting is set, then put on your final frosting coat. (Putting the cake in the fridge helps set the frosting quicker.)

3. Don’t have decorating supplies or want to try to decorate with frosting? Use small toys, or even pictures on cardstock to decorate with. Find them on greeting cards or in scrapbooking stores. Tape a toothpick or straw to the back to get them to “stand up” on the top of your cake, or just lay them flat. The cardstock will start to absorb oils from the frosting, so don’t place on the cake too far in advance. Once removed, and the frosting is carefully removed, you can save your cake “topper” to put in the child’s scrapbook.
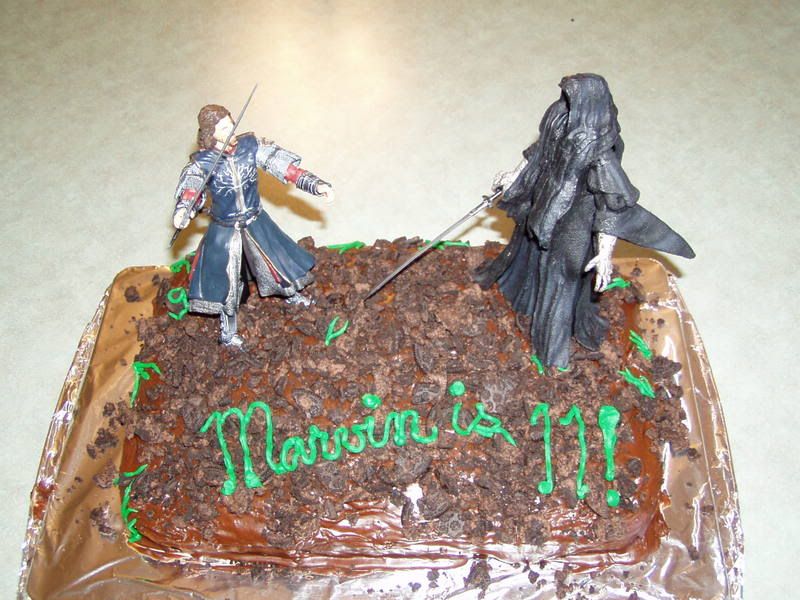
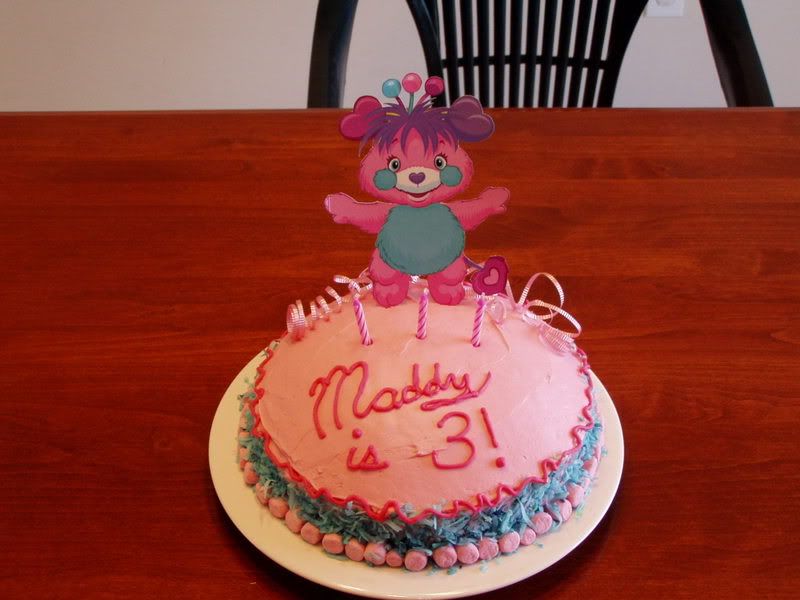


4. Instead of writing “Happy Birthday!” on top of your cake, write the child’s name and age. Such as “Marvin is 3!”. Unless your kid has an unusually long name, it is shorter to write, and years later when you come across the picture of the cake, you’ll instantly know whose cake it was and for which year!


New

1. To get a flat cake, instead of one that bulges on top, either buy and use bake even strips (about $8) to prevent the bulge, or use a serrated knife or cake leveler (about $3) to trim off “the bulge”.

Bake Even Strips

Cake Leveler

Then use the bottom of the cake as a nice flat cake top.

2. You can buy an 8 x 3 inch round cake pan and bake an entire cake mix in it, instead of using two separate rounds. Just lower the bake temp 25 degrees and bake it a little longer. One less pan to clean and no layers to deal with! Your final cake will be slightly shorter than a layered cake would be.

3. To measure 1 c. of shortening easily, put 1 c. cold water in a 2 c. glass measuring cup. Then add spoonfuls of shortening until the water line reaches the
2 c. mark, pour off the water, and you have a perfect 1 c. amount of shortening left that easily slips out and doesn’t leave a greasy mess in the cup. Works because of displacement. I don’t think I will use this trick for making my pies, though, because you are left with damp shortening.

4. To apply a frosting coating, use an angled, or offset, spatula to spread your icing. Works much better than the butter knife I used for years!

Angled spatula

5. To get a smooth frosting surface, frost as smoothly as you can, then let the cake sit until the frosting starts to set. (Touching it lightly with your finger, your finger comes back clean.) Then lay a sheet of parchment or waxed paper on the surface and use your spatula or hand to gently smooth out any bumps. It is important that your frosting not be too thin, or it will take forever to set.

Edited: At Sketchy's request, here is the frosting recipe our teacher gave us:

1 c crisco
1 T clear flavoring (she uses 1 t. each of vanilla, almond and butter. DH doesn't like the almond, so I use 2 t. vanilla instead.)
pinch of salt

Mix well. Then slowly add:

2 lb 10x powdered sugar

Mix till well blended, then add

1/4 c. water.

Beat till smooth.

This will make 6 cups of "stiff consistency" frosting, good for making stiff decorations like roses. This frosting remains soft, and will not harden. Add more water, as needed, to thin frosting for icing the cake and decorations that need to be done with thinner icing, such as writing, stars and shells. If you add too much water, you can add powdered sugar to thicken it.

Friday, January 12, 2007

Another Flower Fairy Birthday Party!


"I close my eyes and count to five
To make the fairies come alive.
And when I open them, I see…
There is a brand new fairy, Me!"


Once again, I've copied someone else's great idea! My sister, ItyBty Frog, gave my niece a fun flower fairy themed birthday party last October, complete with darling costumes for all the guests. My daughter,Maddy, was lucky enough to get one of those costumes for Christmas and requested her party be about flower fairies, too. So, last Saturday our home was invaded by fairies!


The invitation was a small flower shaped card that opened with a pop up fairy inside.

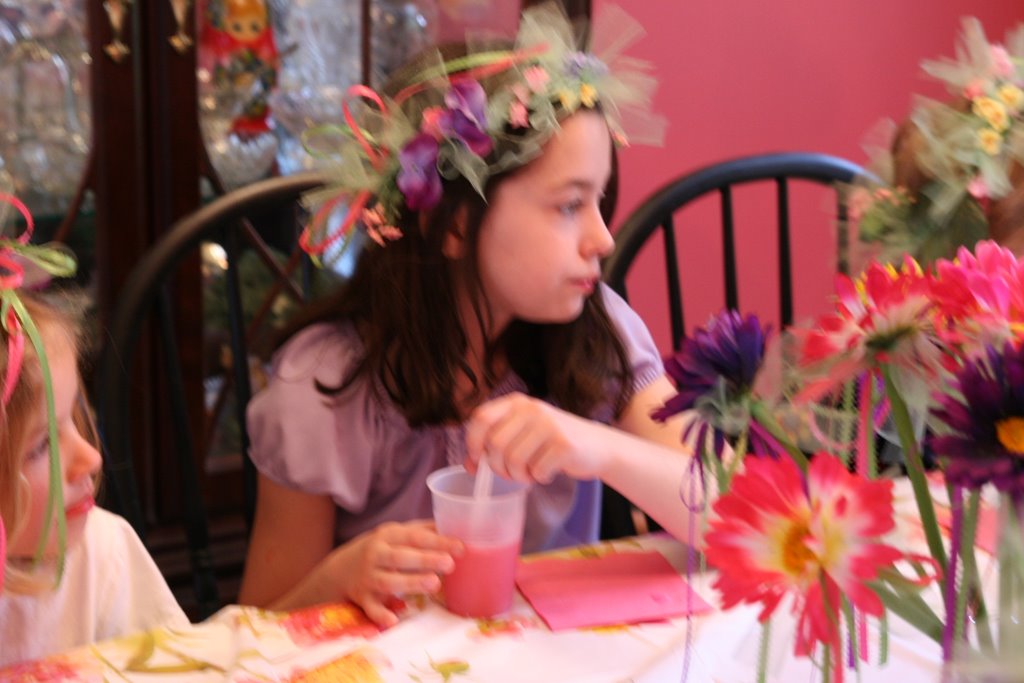
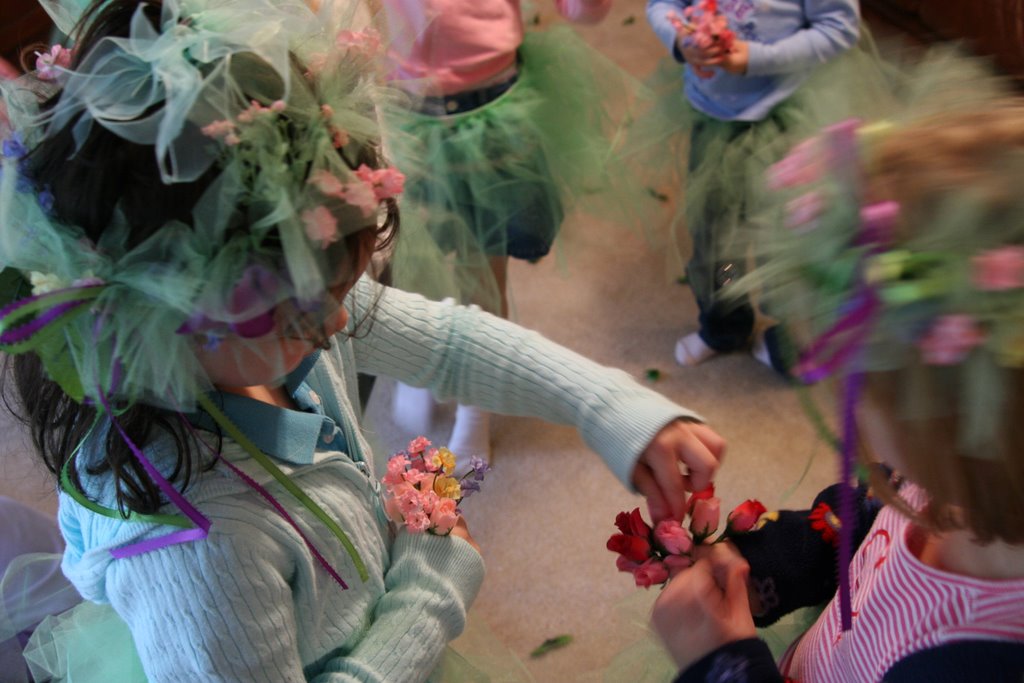
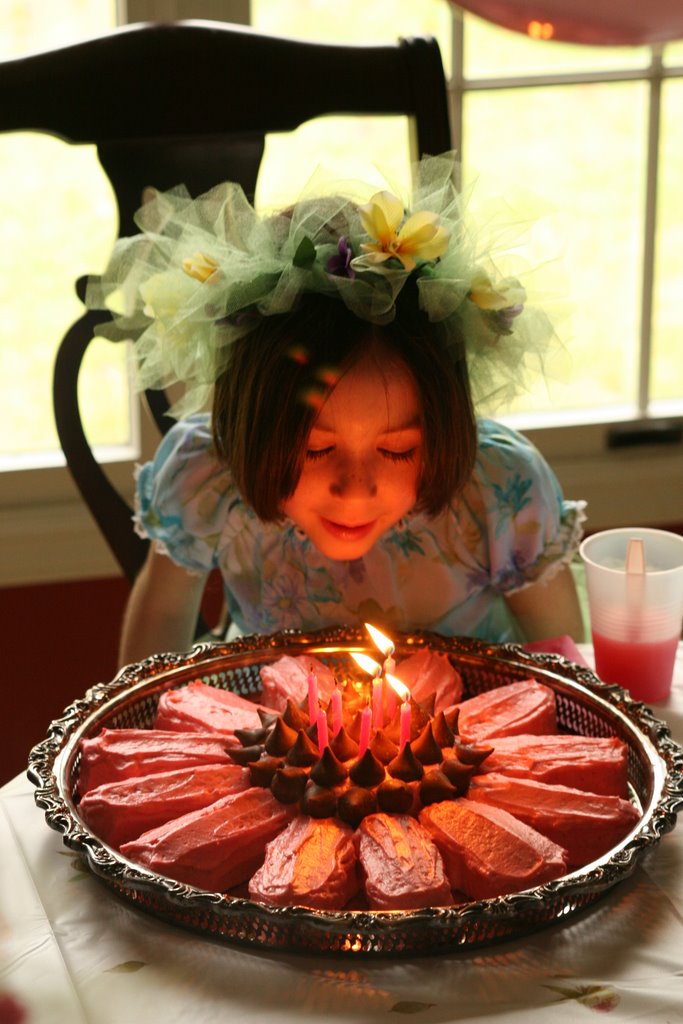
Maddy, dressed in her fairy costume, greeted her guests and invited them to color flower fairy coloring pages we printed off the internet. After all the guests had arrived, they were invited to go to the Land of the Flower Fairies. After linking their hands in a line, with their eyes closed to keep the location a secret, Maddy led the girls upstairs to to Flower Fairyland. There, they listened to stories about the flower fairies. Then they were turned into flower fairies themselves by closing their eyes, saying the poem above, and being tapped lightly on the head by Maddy's fairy wand. (I, too, made each guest a fairy costume. Holy flower! Was that a lot of work!) The rest of the activities included "Land the fairy on the flower", and "musical fairies". (Thanks for the ideas, ItyBty!) They also danced and gathered flowers admidst bubbles and streamers at the Fairy Ball, and had a Fairy Tea with raspberry floats and a flower cake. The party was finished up with opening gifts and relaxing, watching a Sky Dancers video.


Everyone seemed to have a lot of fun, especially Maddy!

Monday, January 8, 2007

My 2007 New Year Resolutions

They say that one of the best ways to help yourself reach your goals is to make yourself more accountable by telling them to others. What more accountablity can you get than posting them for anyone to see on the internet! So, here are mine this year. My intention is to give regular updates on my progress. (So, if I don't mention them for awhile - call me on them, okay?)

Spring clean and organize my house before the baby comes in March.
I have to determine whether the basement and garage count as part of the house. I have divided up the rest of the rooms of the house and will work on specific areas each week.

After the baby comes, lose my pregnancy weight gain and get into good shape.
This one I won't have to work on for awhile, but I'll need to get a plan in place.

Read scriptures as a family more consistently and effectively.
We've been working on listening to the Book of Mormon during breakfast, but sometimes miss it when the morning isn't going smoothly and we start breakfast a few minutes late. I want to work better on having smoother mornings, and at least once a week, use "Scripture Study for Latter Day Saint Families" to help us better understand and apply what we are listening to.

Use my time more wisely.
This involves limiting my avoidance of getting done the things that really need to get done, because I find blogging, etc. more appealing. I already do less blog surfing and posting than I once did. But, I still need to practice more self control in jumping in and getting my to do list done, instead of looking for ways to put off getting started.

Help my daughters memorize the first 7 Articles of Faith.
This is actually something we are working on with the whole primary and started at the end of last year. They have already passed off the first two and are excited about learning more.

Learn to decorate cakes.
I've always just winged my cake decorating. But, Emily wanted to learn, and so now we are taking a cake decorating class together this month. This is my FUN goal!

So, there they are!

Friday, December 15, 2006

Tony's Ship Models


(Click on any of these photos to see them enlarged)

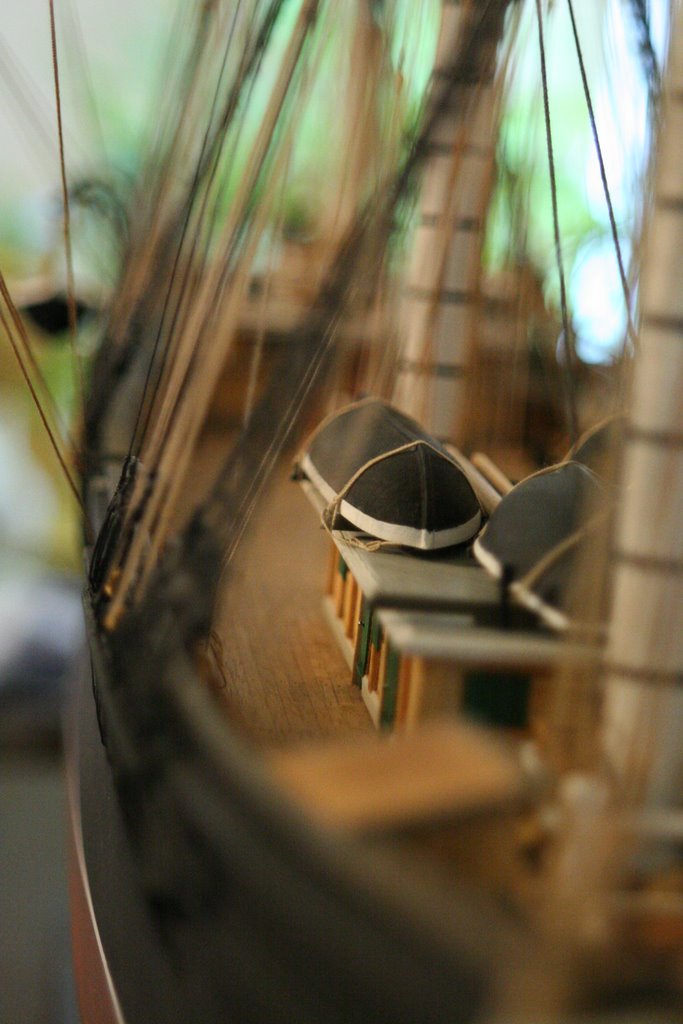
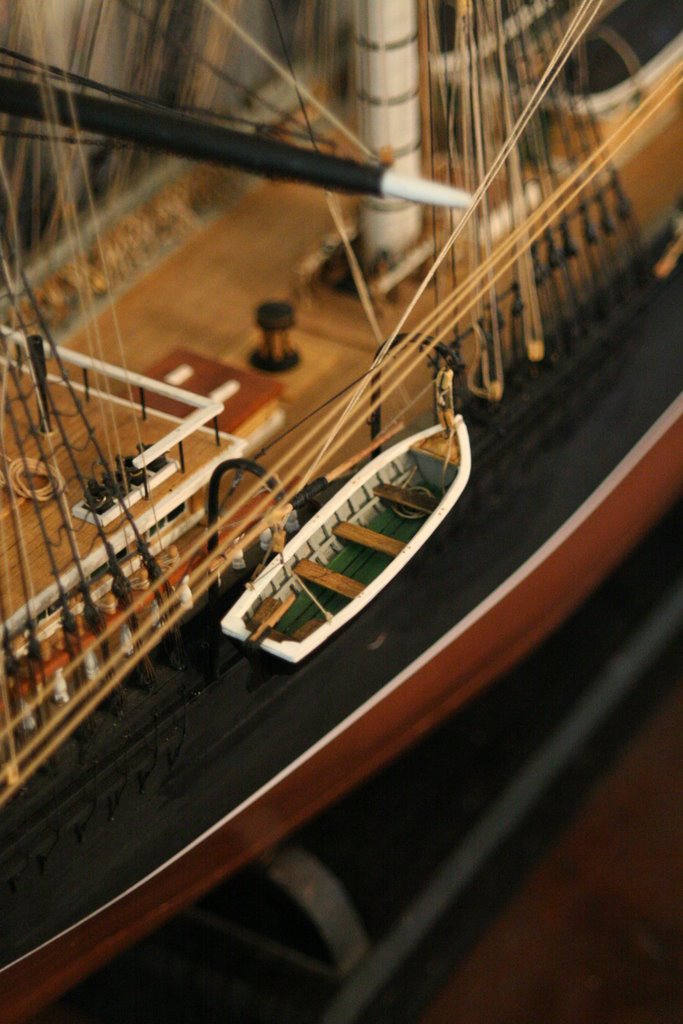
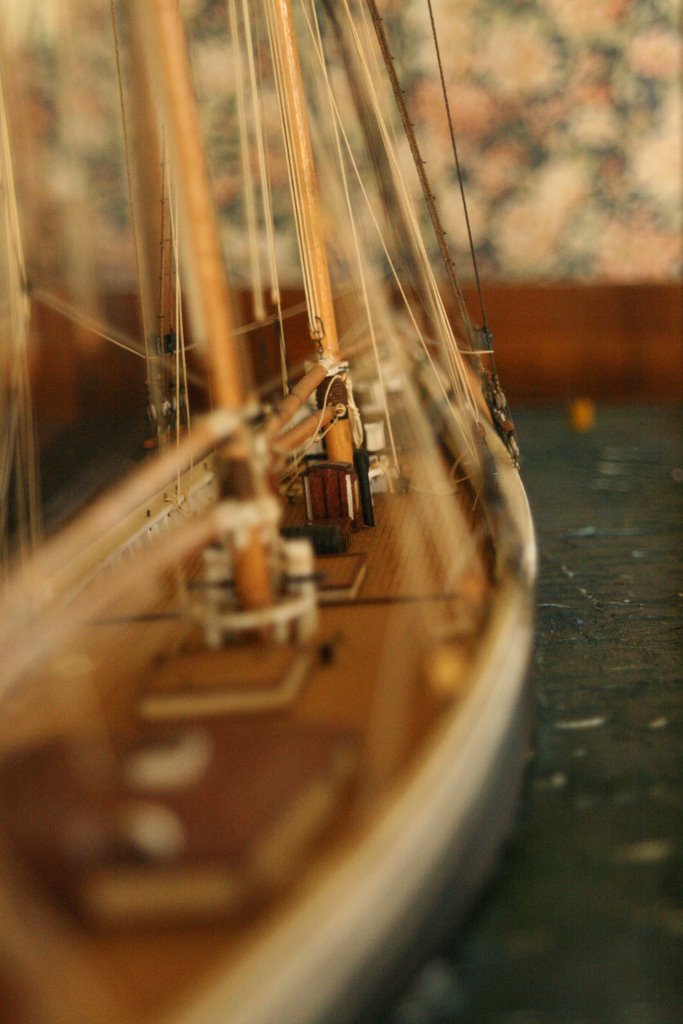
I like to share things I think that are really neat on my blog, especially if they have anything to do with family. My father in law, Grandpa Tony, has an amazing hobby. He builds historically accurate, scale ship models. From scratch. Yes, he does start with a kit, but since the kit is basically a set of plans and a very roughly shaped wooden hull, I still consider that from scratch.


Having spent his summers on the beach of Cape Cod, and being an experienced sailor himself, he loves all things ship and boat. I like to think that, as he builds them, he enjoys imagining what it would have been like to be one of the men that once sailed on them.


The detail work he does is amazing. The little rescue boat here that hangs off the side of the ship is only a little bigger than my finger. (Can you find it in the very top photo? It gives some idea of the size of this model.) All the rigging is carefully done by hand, with tiny mini pulleys. The mesh ladder ropes are not purchased mesh, but are carefully made completely by hand, one knot at a time. Obviously, these boats are a labor of love and take enormous amounts of time to complete. And each one he makes seems even more amazing than the last. Here is just one of his previous models:


I was surprised to learn that there are many people out there with this same hobby. In fact, Tony belongs to a group,
The Ship Model Society of Northern New Jersey, that regularly gets together to share tips and show off their work.


I'm going to do a separate blog about his latest boat, one that has been featured in the society's newsletter,The Broadaxe, and is named after my mother in law, Sally. It's a fun one!

Wednesday, December 13, 2006

Works for Me Wednesday: Puzzle/Book Center


I love wooden puzzles and books for toddlers and preschoolers. I've collected quite a few, but if I left them all out where my kids could reach them, they exploded into a huge mess all over the room. If I put them up out of reach, they seemed to rarely get used.

With Elsie I have come up with this solution:

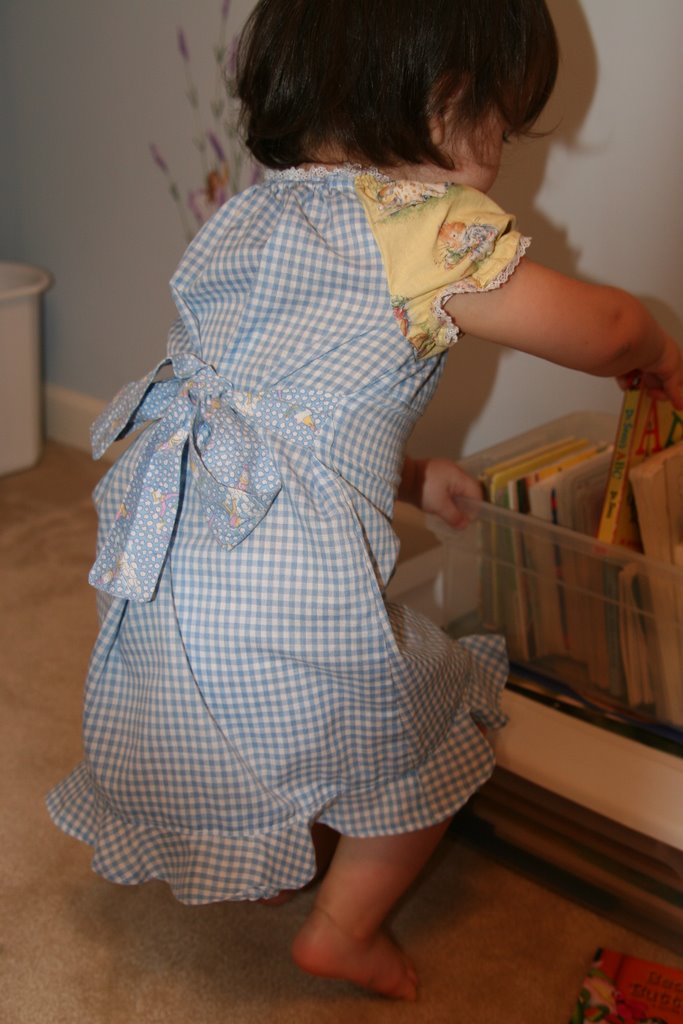
In her room she has a puzzle/book play center. I keep the wooden puzzles in a plastic tub. On the lid of the tub I have a smaller tub of board books. Next to it is a child sized chair and on the floor I often put a nice crib size quilt to sit on.


Every day or two, we get out a new puzzle from the tub. Sometimes she plays with it on the floor, but usually she plays with it standing at the chair like a little table. She has free access to the books in the tub, and the tub makes them easy for her to put them in and out. The weight of the book tub and the difficulty of lifting the lid of the puzzle tub, keeps the puzzles out of her reach, but easy for me to get them out and, more importantly, to remember to get them out! It is a favorite place for us to spend time together, too!

Works for Me! At least until she gets strong enough to open that tub...


(Be sure to check out Shannon's blog for more great Works for Me ideas!)

Wednesday, December 6, 2006

Works For Me Wednesday: Free Holiday Decor


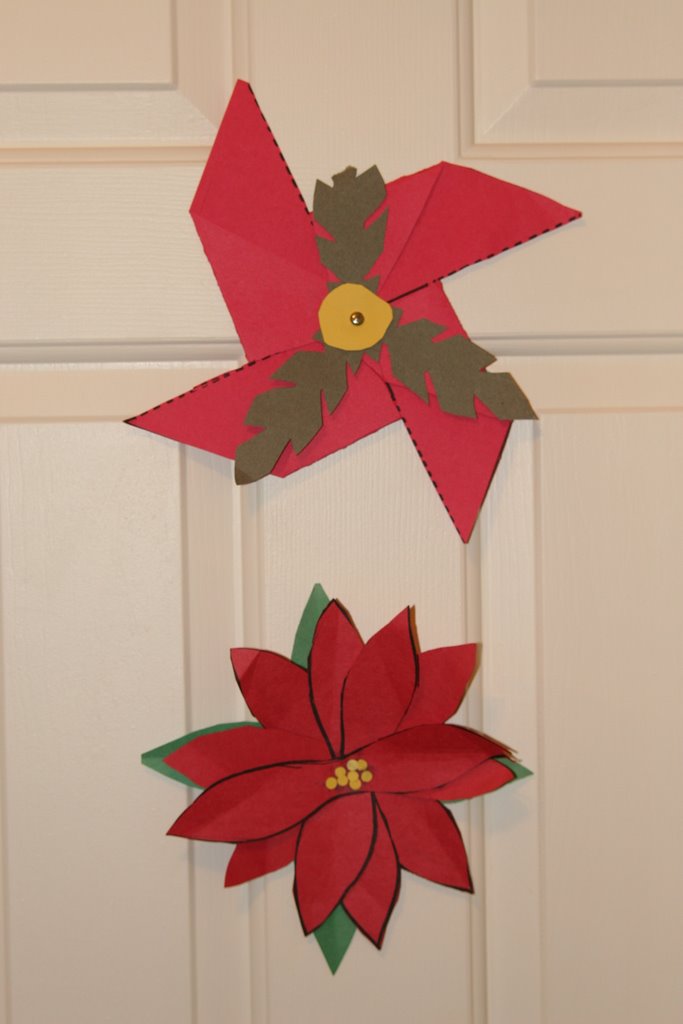
I love the fun holiday crafts my kids come home with. School teachers can come up with the cutest ideas! But, what do you do with them? You can't save every piece of artwork your kids ever make, but it seems a shame to throw them out after the holiday is over. So, we save ours with the holiday decorations and decorate the house with them. I always write the child's name and grade on the back, so we remember who made what. The kids get a big kick out of seeing not only the things they made, but also the things their teenaged sibling made in 1st grade, etc. And taping them up is a decorating activity that they can easily do themselves. Naturally, after years of use, many of the decorations start to fall apart and need to be discarded at the end of the season, but I no longer feel bad about chucking them, since we have been able to get many years of enjoyment out of them!

Works for Me!

Be sure to check out more Works for Me Wednesday ideas at Shannon's Rocks in Her Dryer!

Tuesday, December 5, 2006

Christmas Open House


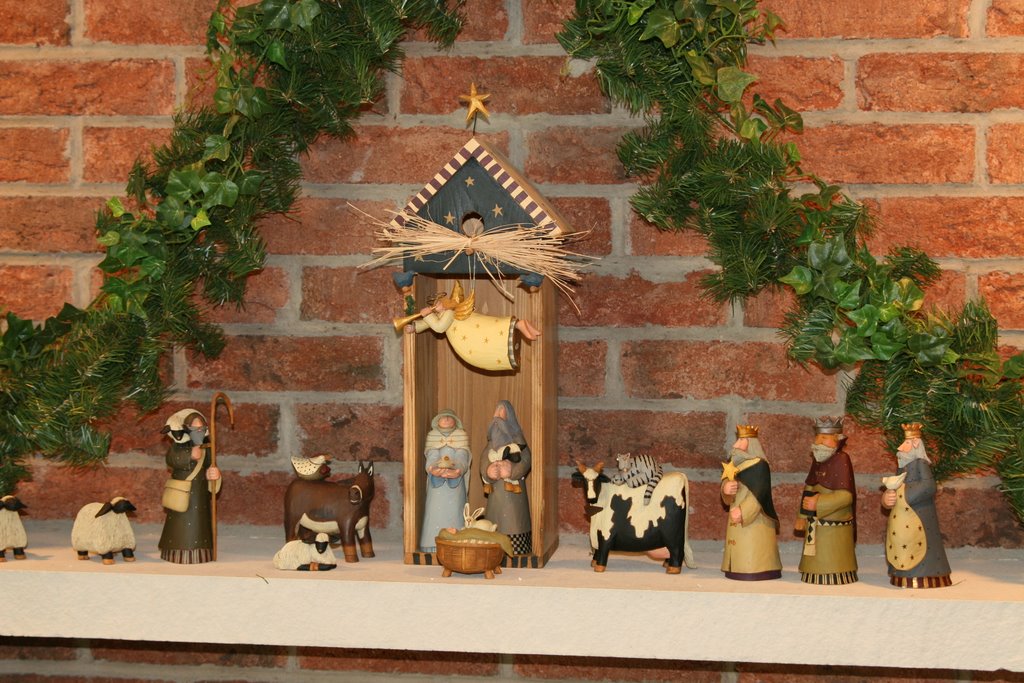
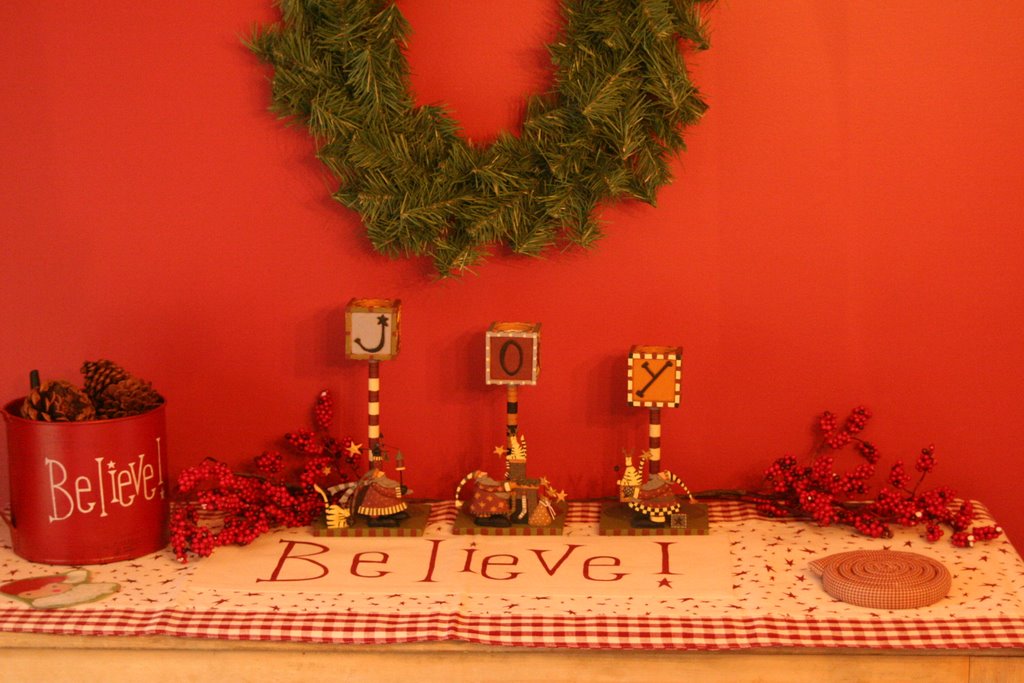
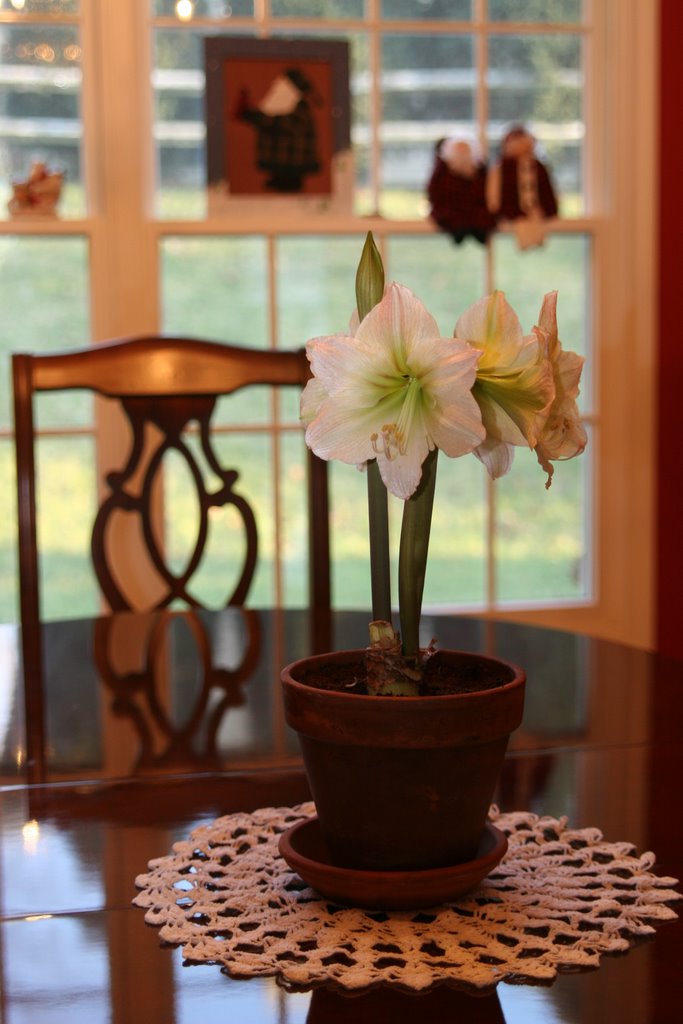
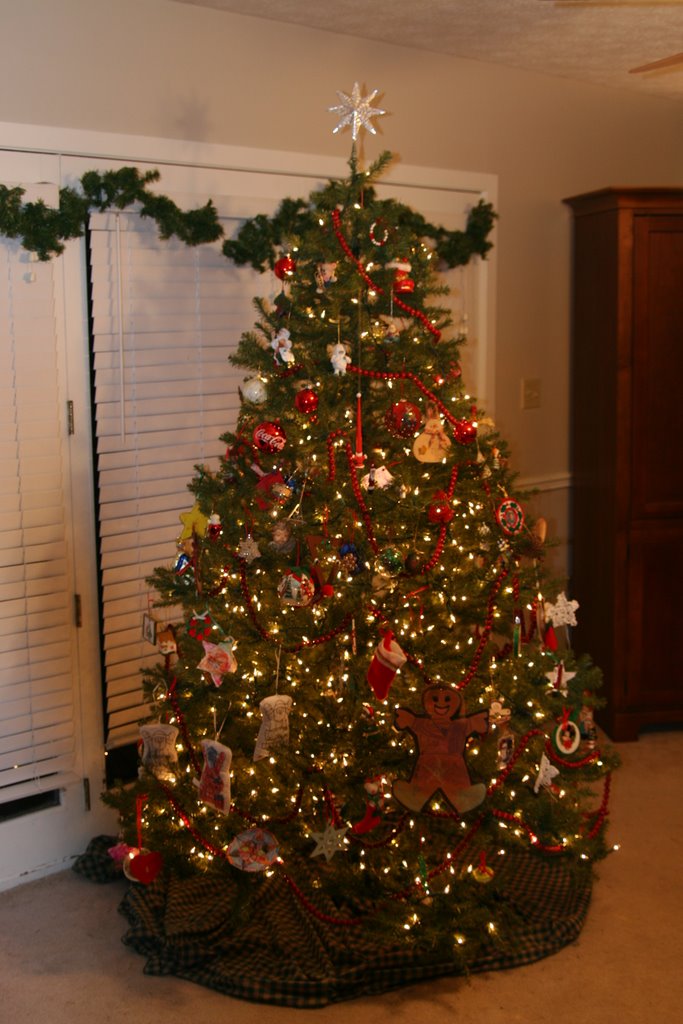
My Christmas Decorations are up!

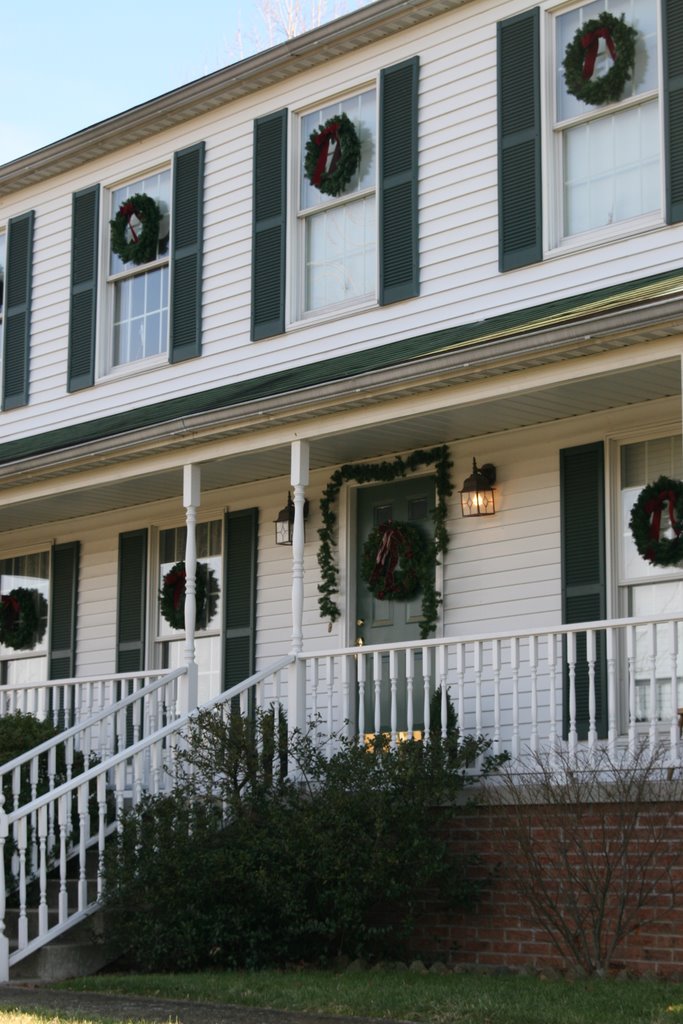
Decorating for Christmas is one tradition that I will probably never skip or simplify. I really enjoy creating a Christmasy atmosphere in our home. I start decorating the day after Thanksgiving, and work on it when I can. I have a lot of fun decorations, mostly because my DH's family loves to give them as gifts, many of them homemade. It took longer this year than normal, probably because I'm pregnant and Elsie hasn't been sleeping well, so I've been a bit more tired than usual. Here are some of the results:


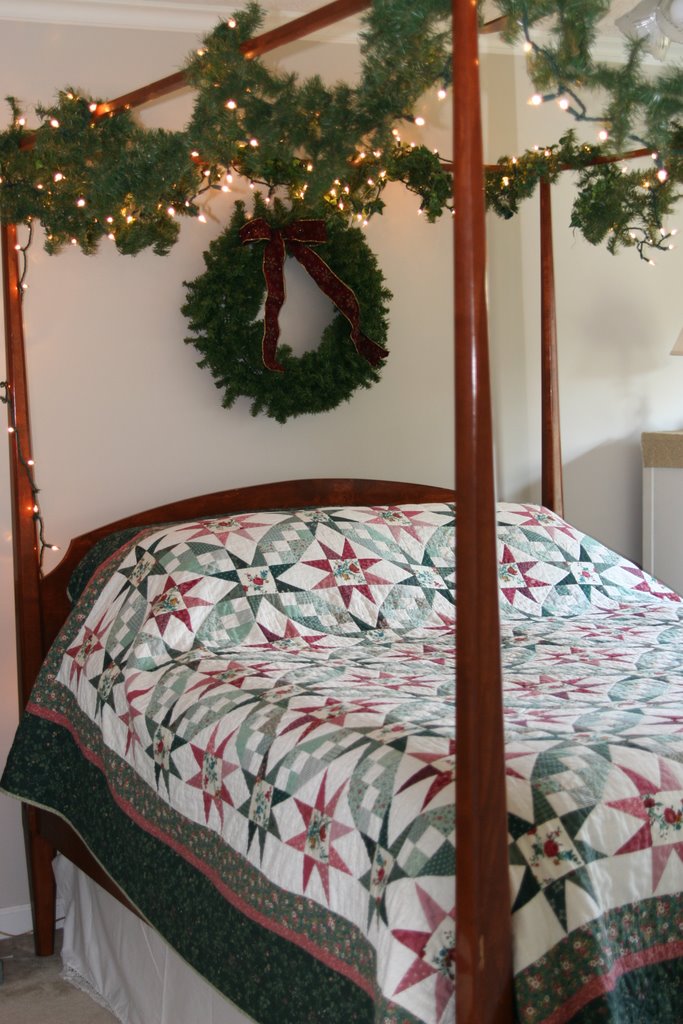
(My mother made this quilt. My husband made the bed for us one year for our anniversary.)

I enjoyed when everyone shared their Autumn decorations with me, so I thought it would be fun to share Christmas decorations, as well! Post images of your decor on your blog and link to it here, and we'll all come visit! I'm starting the links off with my favorite non-blog site for inspiration: the photo gallery at the Colonial Williamsburg website. Someday I will be visiting that place at Christmas time!

And if you haven't been able to decorate much this year, I want to share with you the words a wise friend shared with me when I lamented about how long it was taking me to finish decorating: "It only takes hanging one wreath to let people know you are a Christian. And if you don't put up many decorations, you are giving the gift of making your neighbor's decorations look better."

So, grab some hot chocolate and some sugar cookies and enjoy some sights of the season!

UPDATE: Boo Mama has started a Holiday Home Tour. She has tons of readers, so if you want to visit the jackpot of Christmas decoration pictures, be sure to click on her link!