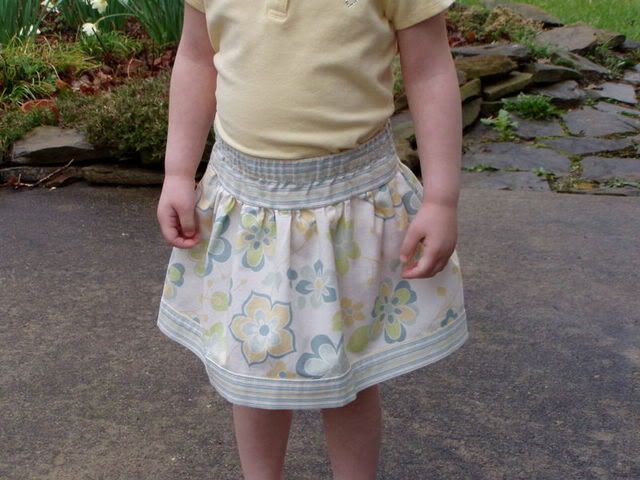
These instructions will make a gathered skirt, using a minimum of fabric. The instructions are long and detailed, not because they are hard to do, but to make them very clear. The fullness of the skirt will vary depending on the waist measurement, but all skirts will follow the standard guideline of 1 1/2 to 2 times of fabric for fullness.
Step 1: Measure:
You need two measurements
1. The waist at where the waistband of the skirt will sit.
2. The desired finished length of the skirt.
Step 2: Calculate yardage and buy fabric.
I usually use 2 different fabrics, but you could combine yardage to make a skirt all one fabric. Be sure to use standard 44-45” wide fabric. Woven cottons are easiest to work with.
If waist size is less than 22”
Skirt body: length of skirt – 2” = length of fabric needed
Waist and hem sections: ¼ yard
If waist size is greater than 22”
Skirt body: 2 x (length of skirt – 2”) = length of fabric needed
Waist and hem sections: 1/3 yd
You will also need a piece of ¾” non-roll elastic as long as the waist measurement and matching sewing thread.
Step 4: Prewash and Iron
Prewash and dry fabric at the temperature at which you intend to wash the finished skirt. Then fold fabric lengthwise, selvage to selvage and press. The pressed fold will help guide your sewing later.
Step 5: Cut Pieces
You will need 3 rectangular pieces if the waist is less than 22”, 5 rectangular pieces if it is greater than 22”. Keep the fabric folded lengthwise, selvage to selvage while you make your cuts.
Skirt Body: (desired skirt length – 3”) x fabric width
Hem section: 3.5” x fabric width
Waist section: (waist + 4”) x 4” To cut this, cut a 4" wide strip of fabric the width of the fabric. Then divide the length in half and cut it on the fold.
If the waist size is greater than 22”, cut out two of the skirt body and hem sections. A rotary cutter, grid ruler and mat make quick work of cutting the pieces and making sure they are square. Unless the selvage will show through the finished skirt, leave it on. It will save you time finishing seams later. Not the "proper" way of doing things, but, hey, it works!
Because fabric widths can vary slightly, and especially if you do trim off any selvage, you need to make sure that the skirt body and hem pieces are the same length (length of the rectangle shape, not length of the skirt) Stack them on top of each other, folded edges together, and trim the longer of the two, if necessary.
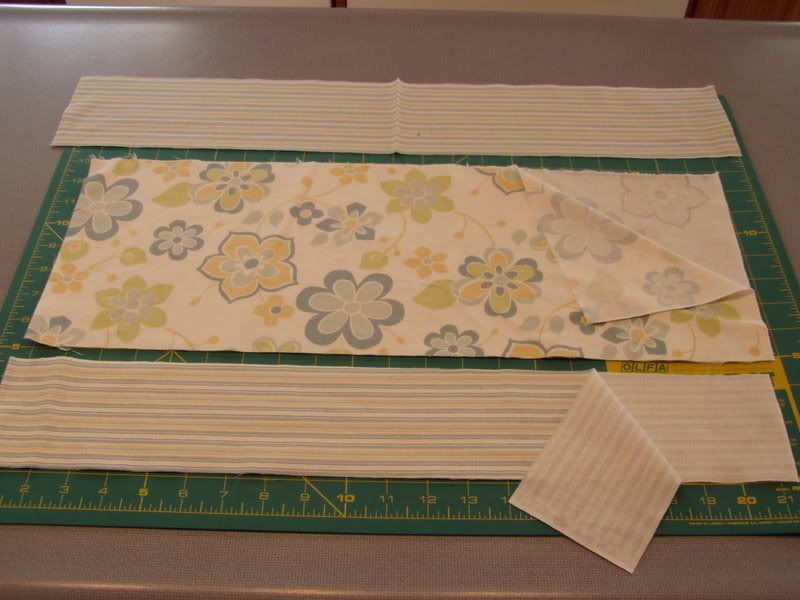
These are your three pieces. Note that the top piece is the waist piece, unfolded. The other two pieces are shown still folded. This was a smaller skirt, so I didn't need two hem and body pieces. The selvages didn't show with these fabrics and didn't need to be trimmed off, so the entire skirt was cut out with just 4 straight cuts!
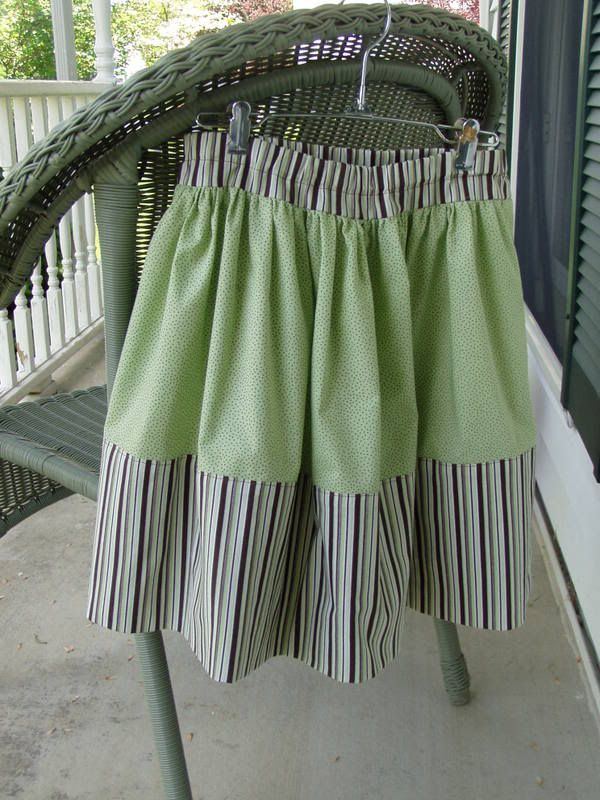
Another Option: Feeling creative? The dimensions above create a finished 1” wide hem edge. If you want to change that, follow this formula: For every inch of width you want to increase of the finished hem edge, subtract one inch from the skirt body length and add two inches to the hem piece.
Here's an example:
Step 6: Sew Skirt Hem Piece to Skirt.
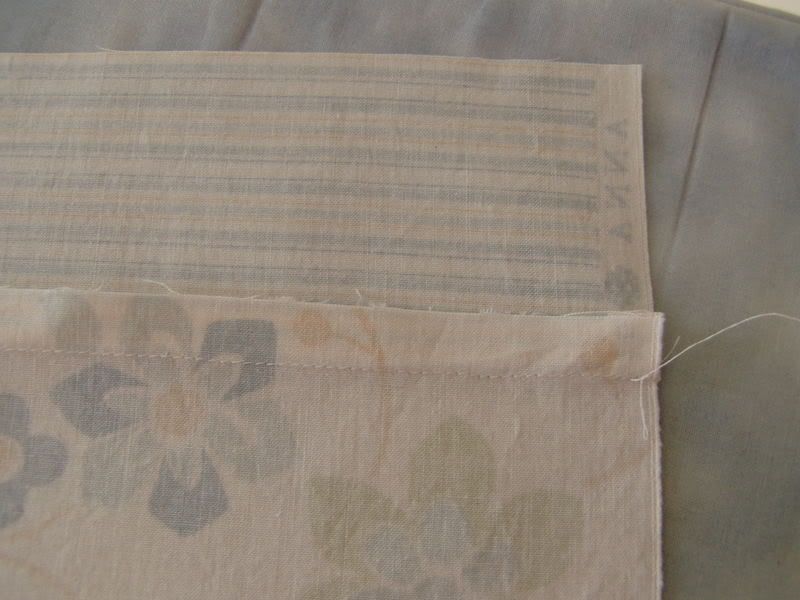
Use a ½” seam allowance for all seams. With right sides together, sew hem piece(s) to skirt piece(s).
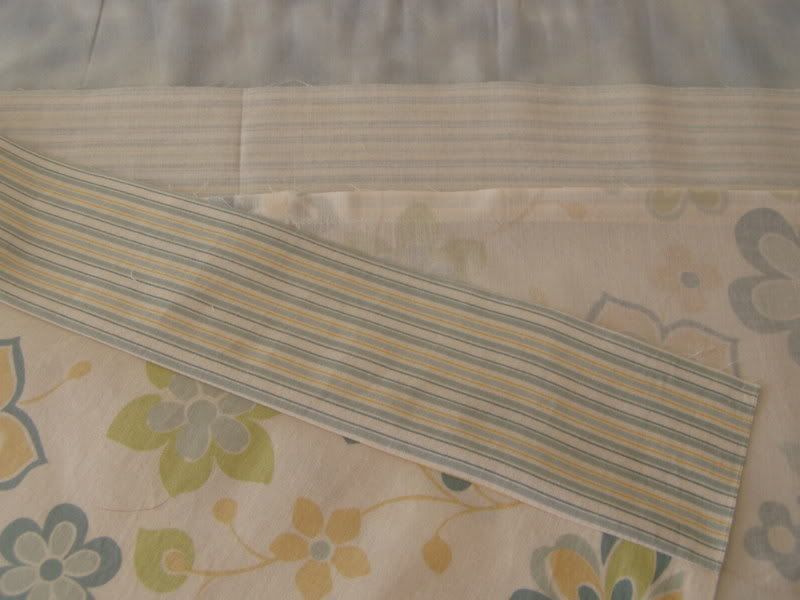
Press seam allowance towards hem piece.
Step 7: Sew skirt’s side seam(s).
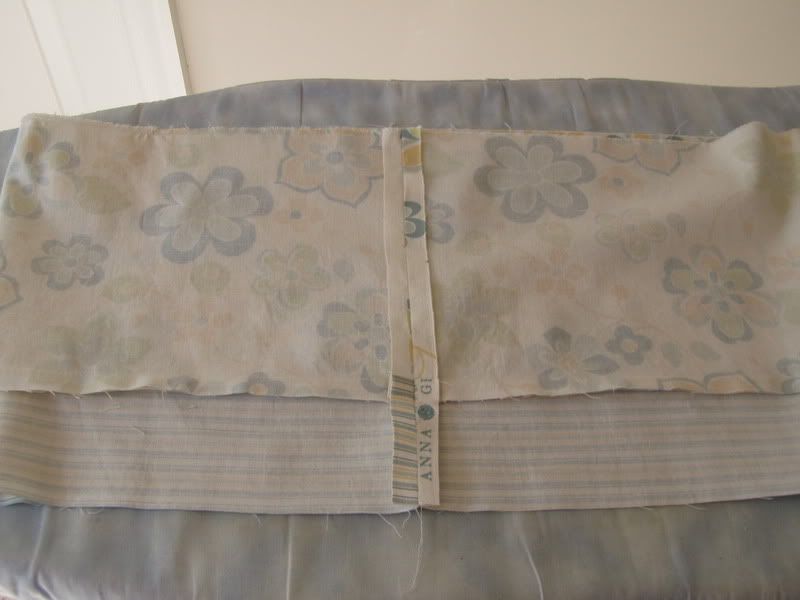
A smaller skirt will only have one seam to sew. Press seam open. If you did not cut the selvage edges, the seam(s) will not need anything more done. If you have cut edges, you will want to finish them to prevent raveling. Do this by sewing a zig zag stitch along the raw edges, or, and this is my favorite way, by cutting them with pinking shears.
Step 8: Finish bottom skirt edge.
Bend over and press edge of hem piece ¼”.
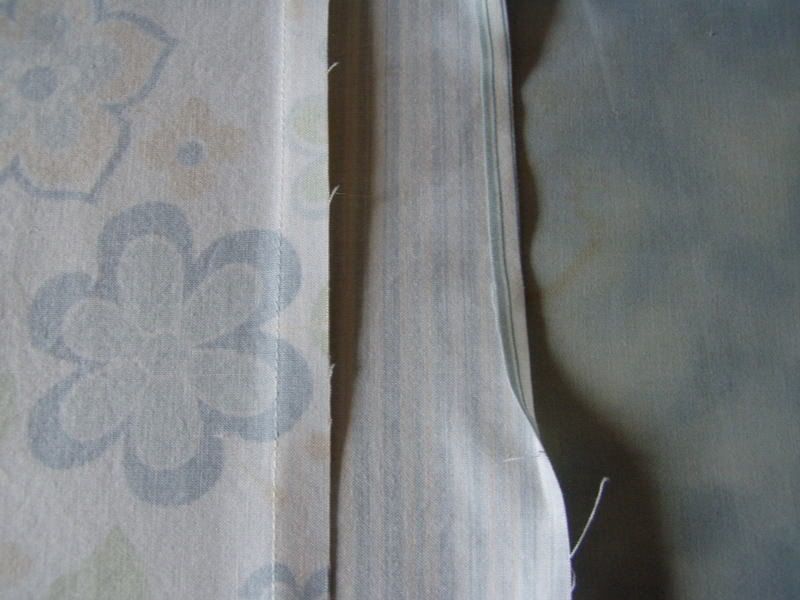
Fold pressed edge over to meet stitched line and press.
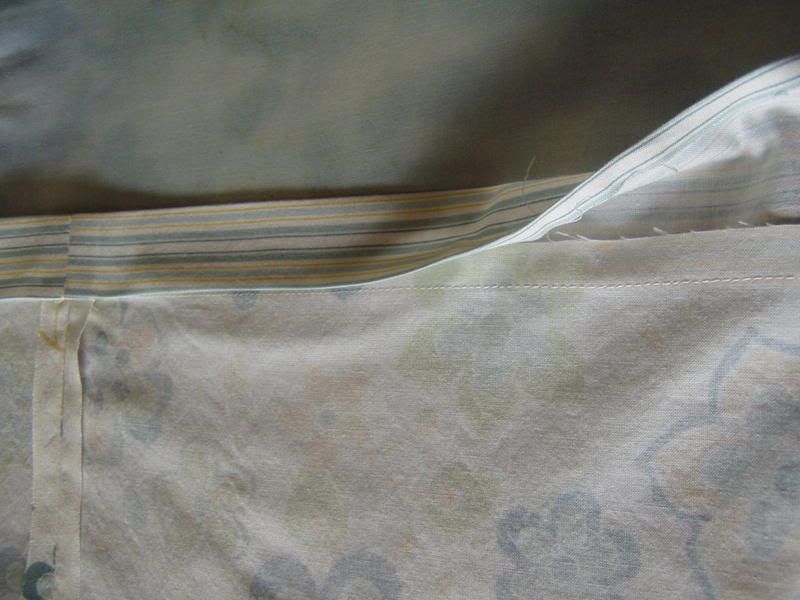
Pin folded edge in place. (The more you pin it the easier it will be to stitch this one.) Stitch along fold, about 1/8” of an inch from pressed edge. Viola, your skirt is hemmed and the hem piece is top stitched!
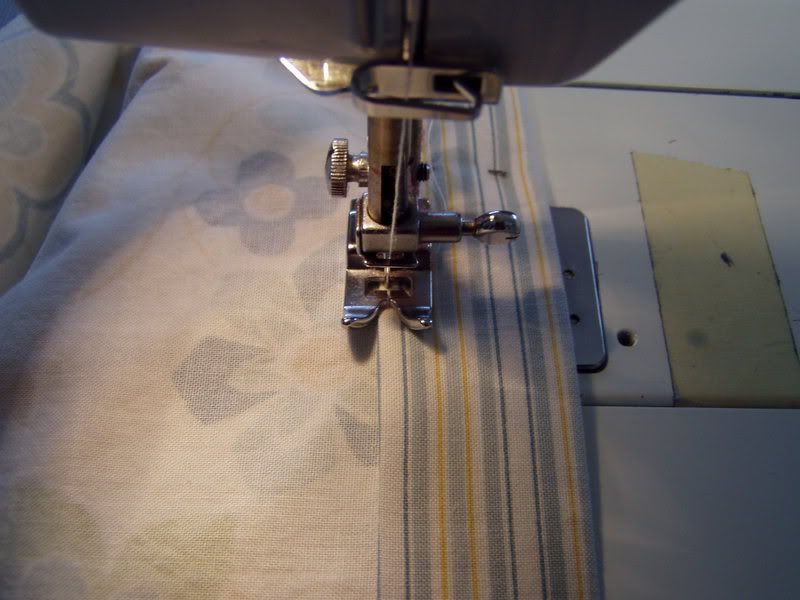
Step 9: Gather skirt and attach waist piece.
Increase the length of your stitch and sew a gathering thread 1/4” from skirt top, starting and stopping thread at each side of side seam. (If you are doing a bigger skirt with two side seams, you will sew two gathering threads. One from one seam to the next on the front of the skirt and another one on the back.)
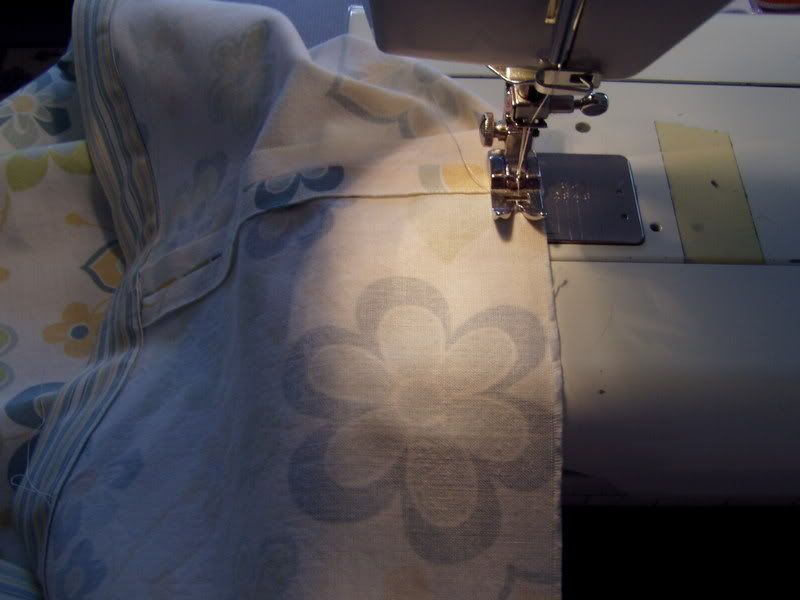
Shorten your stitch length again. (I always forget to do this!) Then, with right sides together, sew short edges of waist piece together. Finish raw edges. (Don’t the pinked edges look cute?)
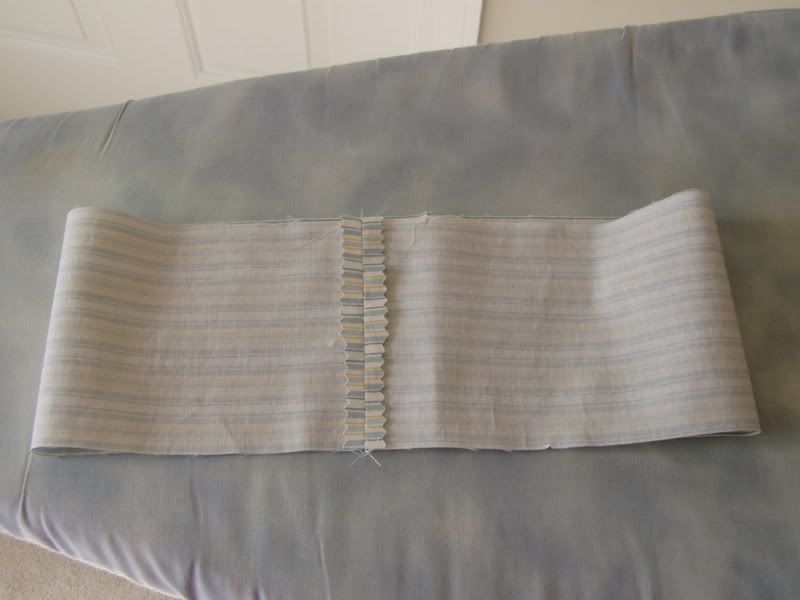
Turn waist piece right side out, slip it into the top of the skirt piece. Pull gathering threads and gather skirt to fit waist piece, lining up seam(s) and pressed folds. Pin in place.
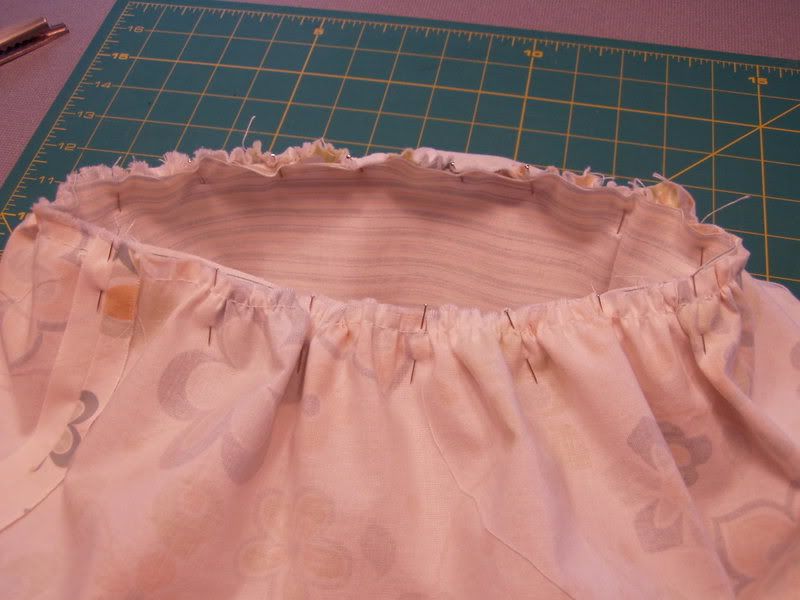
Stitch ½” from edge.
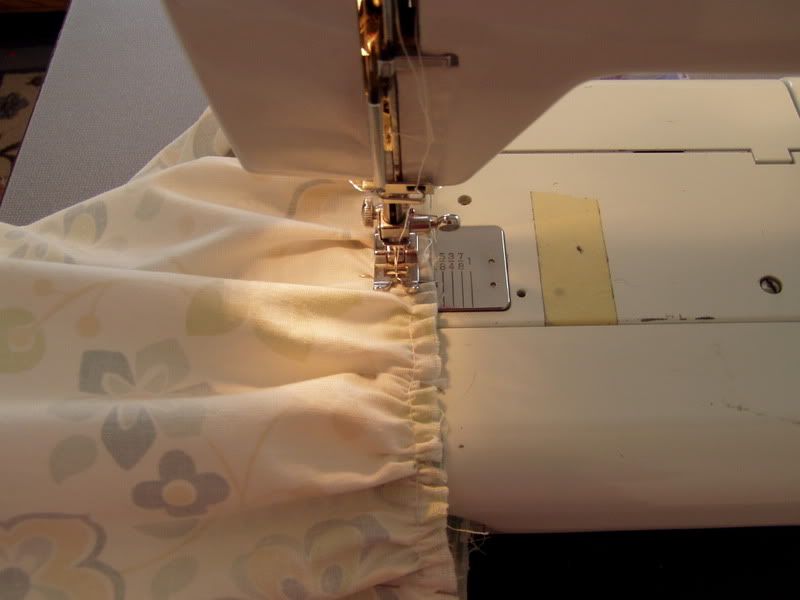
Finish raw edges. Using pinking shears doesn’t work well on a gathered edge like this, so I zig zag all the edges together. It isn’t a pretty edge when you’re done, but if the wind ever flips your skirt high enough that it shows, you didn’t make your skirt long enough!
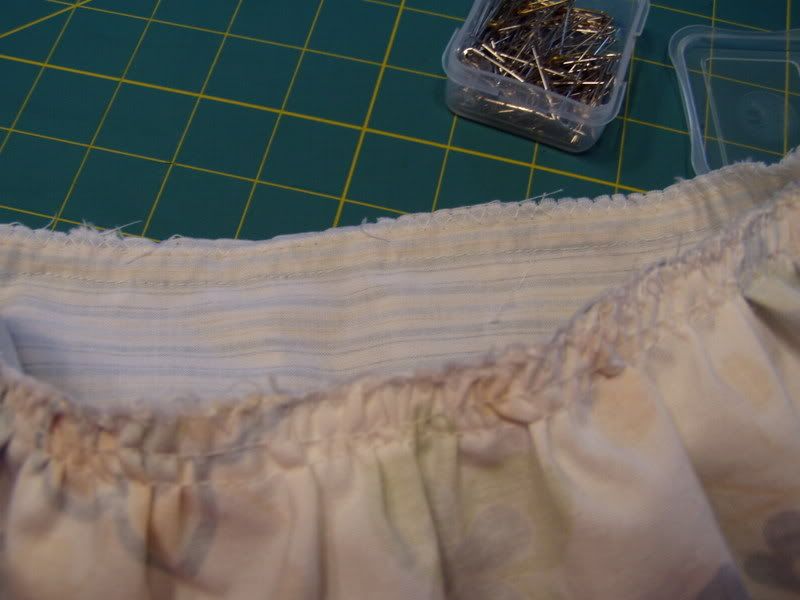
Step 10: Sew elastic waistband.
Press over ¼” of waist edge and press.
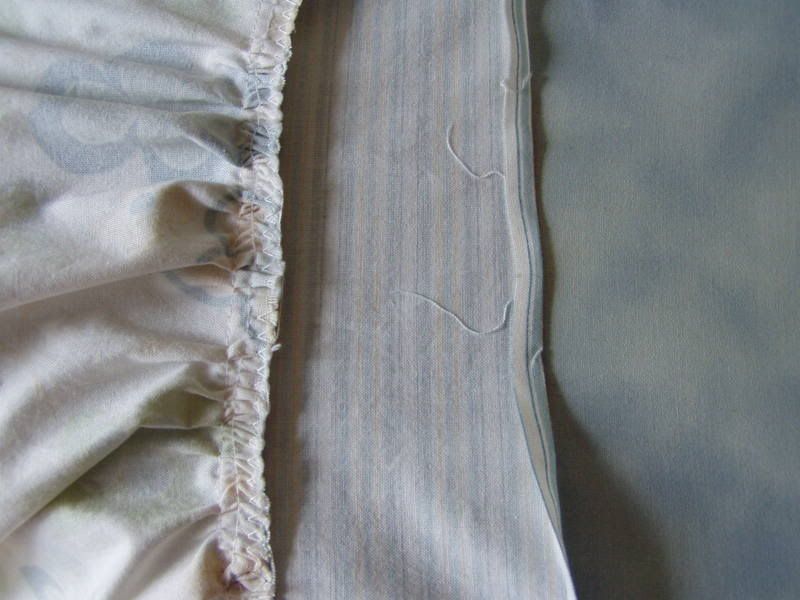
Fold over 1” and press again.
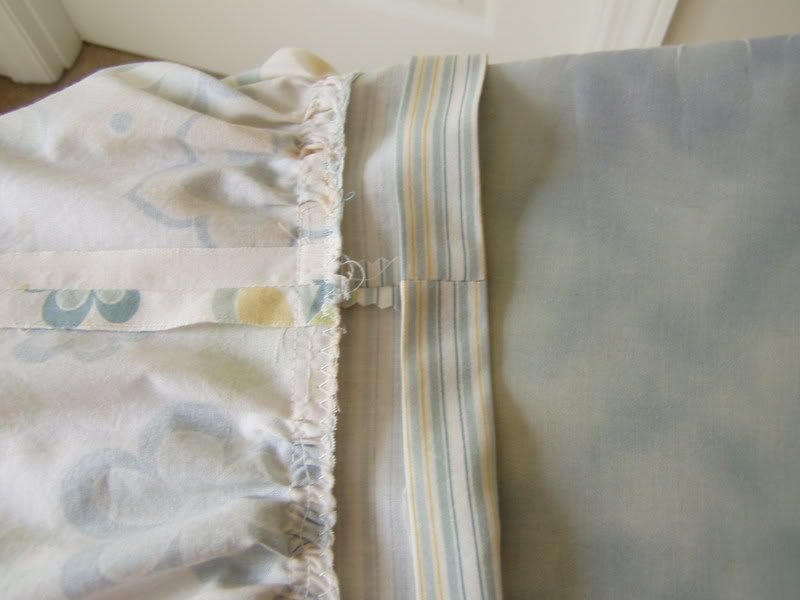
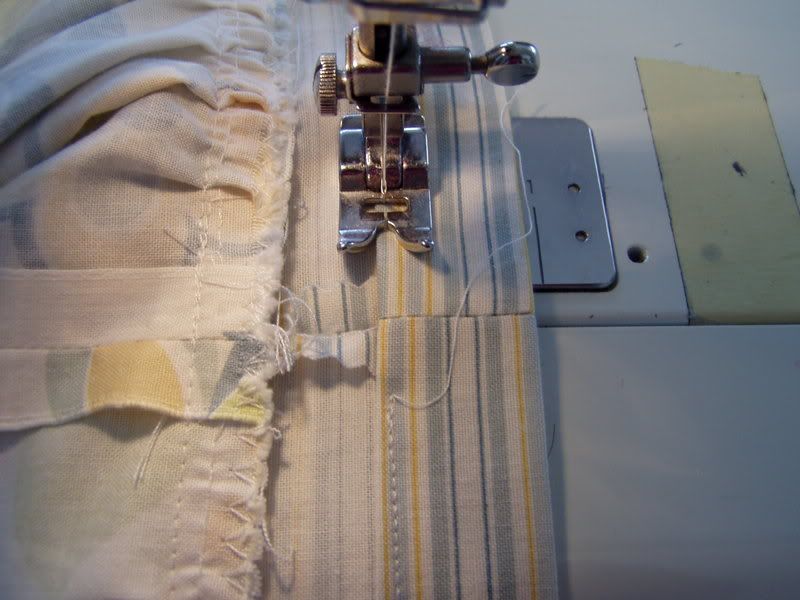
Stitch along edge of fold, leaving an opening at one seam for the insertion of elastic.
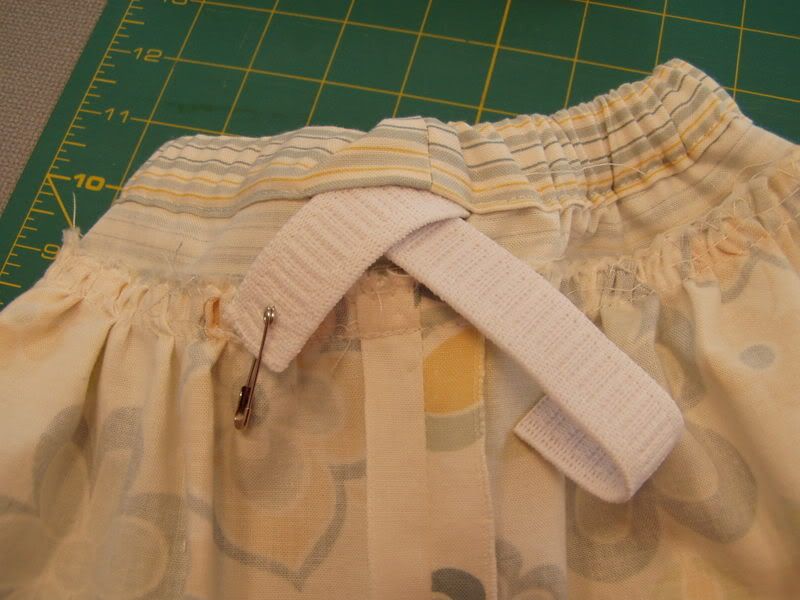
Cut elastic to waist measurement in length. Pin safety pin to one end and use to thread through elastic casing, making sure other end of elastic doesn’t go all the way into the skirt casing after it.
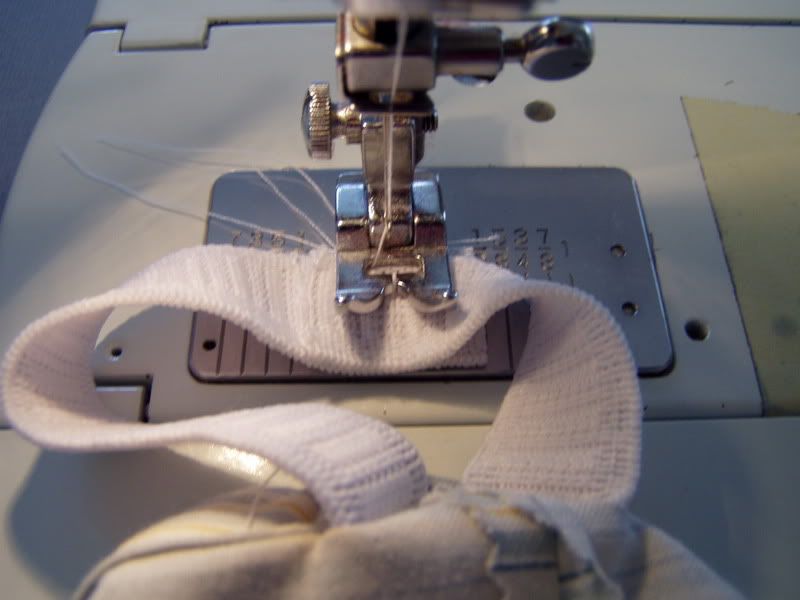
Overlap ends of elastic about an inch and sew across.
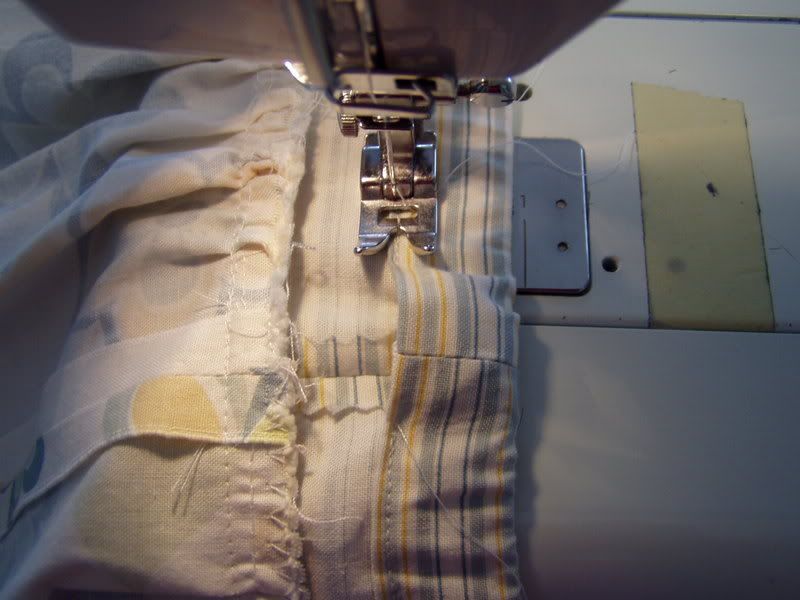
Slip elastic all the way into casing, then stitch casing opening closed.
Clip loose threads, if you didn’t do it as you went along. (I always seem to miss some!)
And you are done!
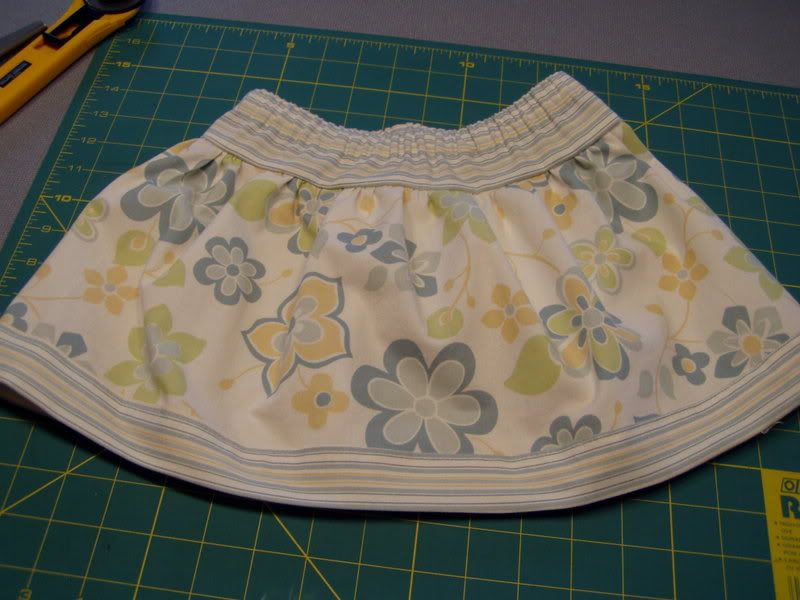
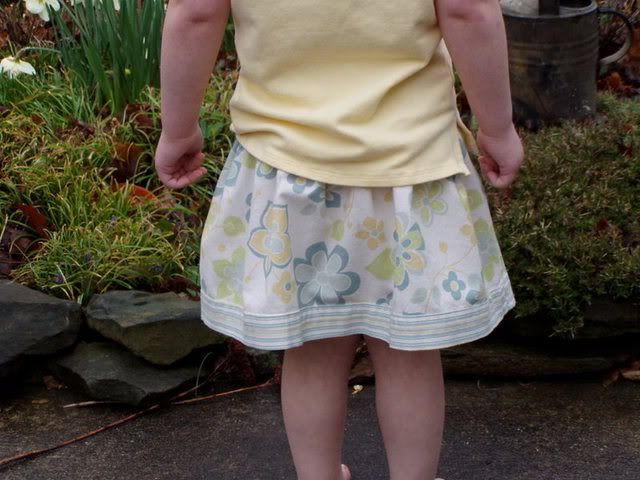
To see more skirts I made this way, look here.
If, after using this tutorial, you find any parts that are not clear, please let me know so I can try to improve it!


