That’s what I’ve been up to these days. Two and a half weeks ago I was surprised to learn that our church ward was split into two, and I was subsequently released from my calling as Primary President. Two hours later I was called as the Primary President in the newly formed ward. So, we were back to square one in getting everything organized in Primary for the new year. Actually, having managed to get everything super organized before (thanks to my wonderful counselors!) made the transition so much smoother than it would have been!
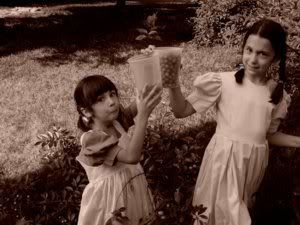
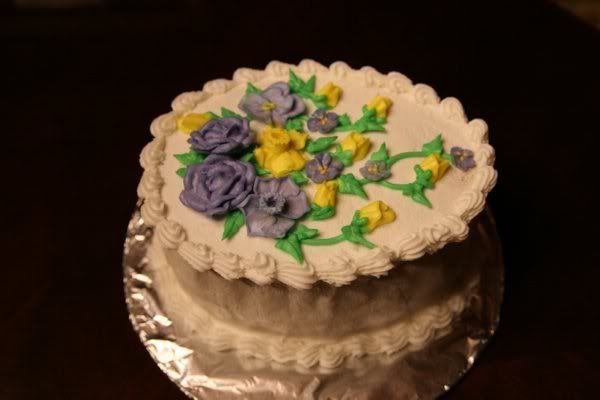
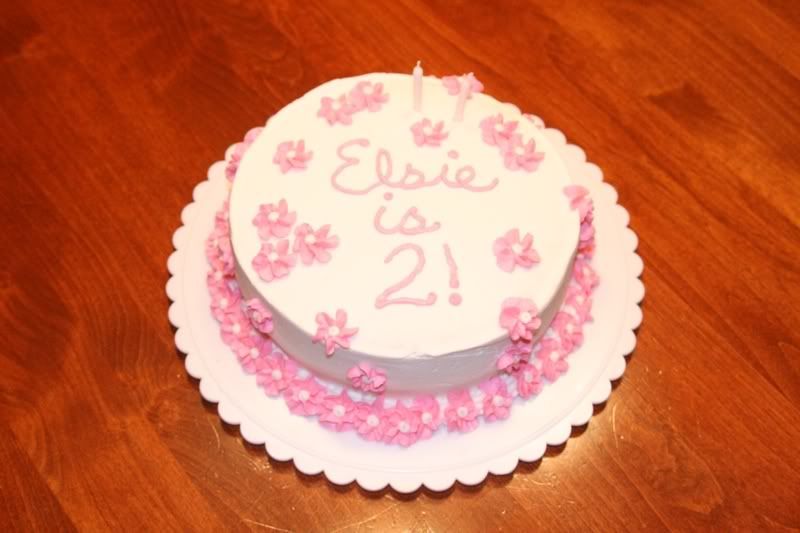
I also finished one of my New Year Resolutions by taking a cake decorating class with my daughter Emily. Our last class was last night, and here we are with our final “masterpieces”.
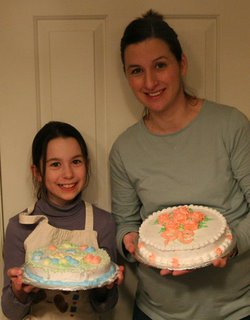
I found the most difficult part of cake decorating to be getting the consistency of the frosting correct. Last night, I misplaced the recipe our teacher gave us and had to make a brand new recipe, and made it too thin. Which really made decorating our cakes last night a challenge, but I think we did okay. It was a class for adults, but they let Emily in anyways and she did really well. I was very impressed that after getting very frustrated with trying to make roses and wanting to give up, she faced her frustrations, jumped back in and learned to make a pretty decent rose. We enjoyed the class so much, that we are going back next month for the sequel!
So, in honor of Works for Me Wednesday, here are some cake decorating tips, both old and new:
Old
1. To keep your cake from sticking to the pan, line the bottom of your pan with waxed paper, spray it with non stick cooking spray, and then pour the batter in. After the cake is done, cool for 10 min, no more or less, and then remove from the pan to finish cooling on a cooling rack. It comes out super easy, and you simply pull the waxed paper off and find a perfectly smooth bottom! (This is actually I tip I learned from my mother in law.)
2. To keep crumbs out of the frosting, first brush your cake gently to remove excess crumbs. Then apply a “crumb coat” of frosting. This is a very thin layer of frosting that seals in the crumbs. Let the cake sit until the frosting is set, then put on your final frosting coat. (Putting the cake in the fridge helps set the frosting quicker.)
3. Don’t have decorating supplies or want to try to decorate with frosting? Use small toys, or even pictures on cardstock to decorate with. Find them on greeting cards or in scrapbooking stores. Tape a toothpick or straw to the back to get them to “stand up” on the top of your cake, or just lay them flat. The cardstock will start to absorb oils from the frosting, so don’t place on the cake too far in advance. Once removed, and the frosting is carefully removed, you can save your cake “topper” to put in the child’s scrapbook.
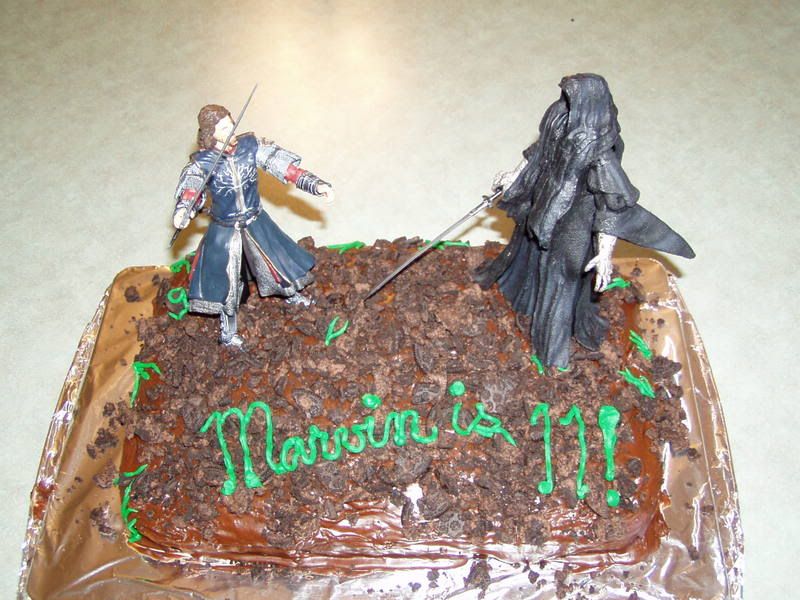
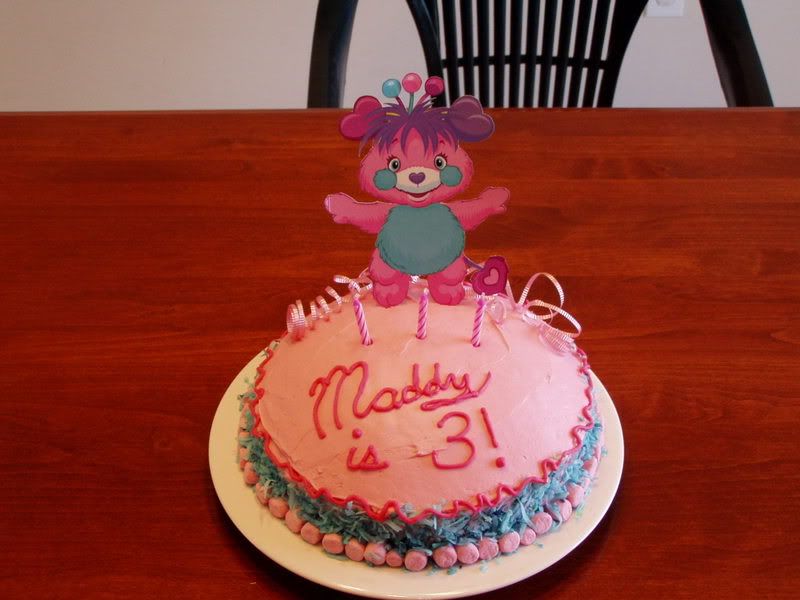
4. Instead of writing “Happy Birthday!” on top of your cake, write the child’s name and age. Such as “Marvin is 3!”. Unless your kid has an unusually long name, it is shorter to write, and years later when you come across the picture of the cake, you’ll instantly know whose cake it was and for which year!
 New
New
1. To get a flat cake, instead of one that bulges on top, either buy and use bake even strips (about $8) to prevent the bulge, or use a serrated knife or cake leveler (about $3) to trim off “the bulge”.
 Bake Even Strips
 Cake Leveler
Then use the bottom of the cake as a nice flat cake top.
2. You can buy an 8 x 3 inch round cake pan and bake an entire cake mix in it, instead of using two separate rounds. Just lower the bake temp 25 degrees and bake it a little longer. One less pan to clean and no layers to deal with! Your final cake will be slightly shorter than a layered cake would be.
3. To measure 1 c. of shortening easily, put 1 c. cold water in a 2 c. glass measuring cup. Then add spoonfuls of shortening until the water line reaches the
2 c. mark, pour off the water, and you have a perfect 1 c. amount of shortening left that easily slips out and doesn’t leave a greasy mess in the cup. Works because of displacement. I don’t think I will use this trick for making my pies, though, because you are left with damp shortening.
4. To apply a frosting coating, use an angled, or offset, spatula to spread your icing. Works much better than the butter knife I used for years!
 Angled spatula
5. To get a smooth frosting surface, frost as smoothly as you can, then let the cake sit until the frosting starts to set. (Touching it lightly with your finger, your finger comes back clean.) Then lay a sheet of parchment or waxed paper on the surface and use your spatula or hand to gently smooth out any bumps. It is important that your frosting not be too thin, or it will take forever to set.
Edited: At Sketchy's request, here is the frosting recipe our teacher gave us:
1 c crisco
1 T clear flavoring (she uses 1 t. each of vanilla, almond and butter. DH doesn't like the almond, so I use 2 t. vanilla instead.)
pinch of salt
Mix well. Then slowly add:
2 lb 10x powdered sugar
Mix till well blended, then add
1/4 c. water.
Beat till smooth.
This will make 6 cups of "stiff consistency" frosting, good for making stiff decorations like roses. This frosting remains soft, and will not harden. Add more water, as needed, to thin frosting for icing the cake and decorations that need to be done with thinner icing, such as writing, stars and shells. If you add too much water, you can add powdered sugar to thicken it.


